Porcelain Jewelry Design
Gesine Hackenberg- Article
Various traditions are linked to objects, the history of those objects and stories about them are a great source of inspiration for me. I like to reinterpret classical genres of art- and jewelry history, always relating those topics to my own contemporary context.- Gesine Hackenberg
Sketching, Planning, Design
Sketching for IdeasWhen sketching and planning you should consider Elements of Art, Principles of design, 3D principles, as well as intent, meaning and message. Sketching and planning your idea. Don't be concerned about erasing. You will be cutting out paper templates and can make changes to you designs before cutting clay.
|
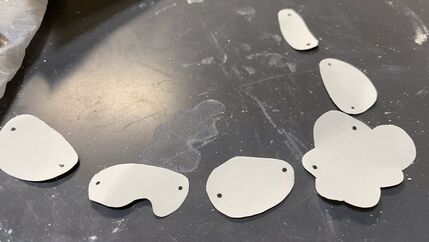
Cutting and ManipulationBy cutting out simple shapes out of paper and physically rearranging them you can experiment with space, rhythm, pattern disruption, movement, and contrast in size. Take a few photographs and see how the ideas look. Is the composition well planned out? The paper pieces can be used as templates .
|
Elements of Art
Line: Will you use Implied line to guide the eye? Does this naturally occur in all necklaces?
Shape or Form: What shapes will you use? WIll you sculpt small forms? Will you have raised forms like a relief sculpture? Texture: WIll you add texture? Color: Will you use color to create Emphasis? Will you use color to disrupt a pattern? Value: Will you use value to create Harmony and Rhythm? Will you use Value to create Emphasis? Space: How will you use empty space within your shapes? How will you use space with Principles of design. Will you break up your design into segments to be connected with stringing or metal connections? 3D Principles |
|
|
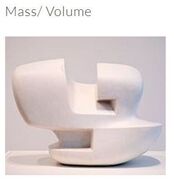
Mass/ Volume: How large are your clay pieces? How much space do they take up? How heavy is the work? Will it be comfortable to the wearer?
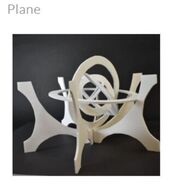
Plane: Will you change the placement of the shapes to give more depth? Will you change some of the shapes to change planes. Having shapes lay flat or turning them on the side will alter the design 3 dimensionally.
Plane: Will you change the placement of the shapes to give more depth? Will you change some of the shapes to change planes. Having shapes lay flat or turning them on the side will alter the design 3 dimensionally.
Principles Of Design
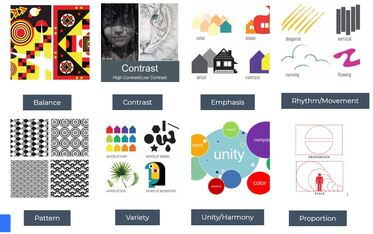
Repetition: What shapes and forms will be repeated?
Harmony: How will you create Uniformity?
Contrast: How will you disruption your Pattern?
Emphasis: What will be the Focal Point?
Movement Rhythm: How will the work move
Simplicity vs Complexity:
Harmony: How will you create Uniformity?
Contrast: How will you disruption your Pattern?
Emphasis: What will be the Focal Point?
Movement Rhythm: How will the work move
Simplicity vs Complexity:
Intent,Meaning
Message
What is the Intent?
Is the work intended to be worn?
Is the work intended to be uncomfortable?
Is the work sending a message?
Is the work meant to be startling?
Is the work meant to be a statement?
Is the work highlighting a subject?
Is the work intended to be worn?
Is the work intended to be uncomfortable?
Is the work sending a message?
Is the work meant to be startling?
Is the work meant to be a statement?
Is the work highlighting a subject?
Process Tips and Tricks
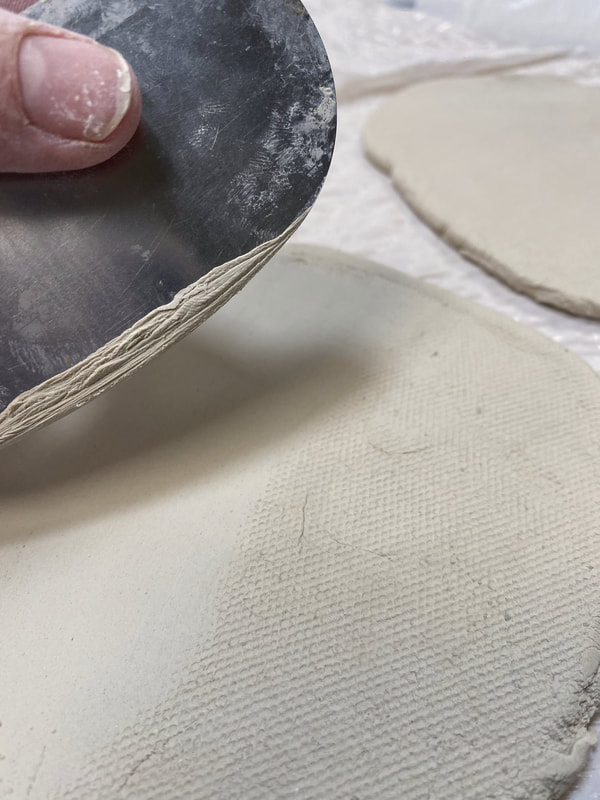
Use Porcelain: This clay has no grog in it. You will have really smooth results. Use a rib to smooth out the porcelain before you cut anything
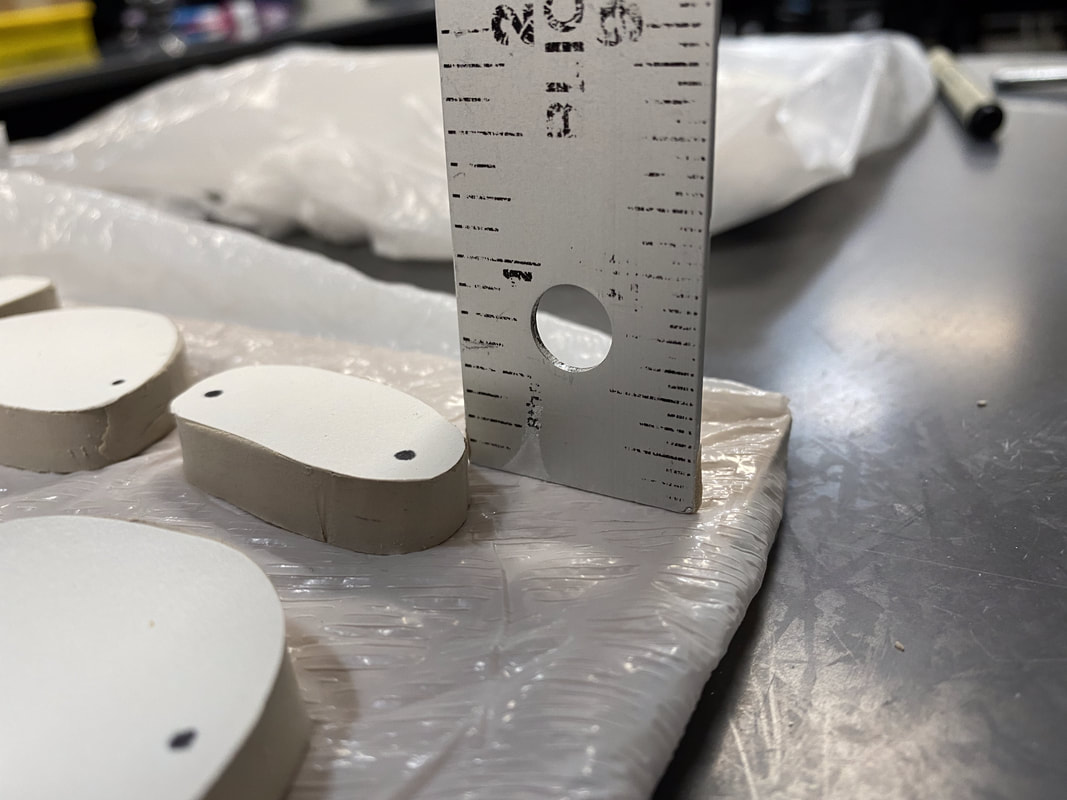
Thickness 1/4 to 1/8 inch.
Modeling: Use small tools and a skewer to create a hole before adding any details. If you use a small ball of clay and place it on the skewer then add your piece it will hold in place better as you are working on it
|
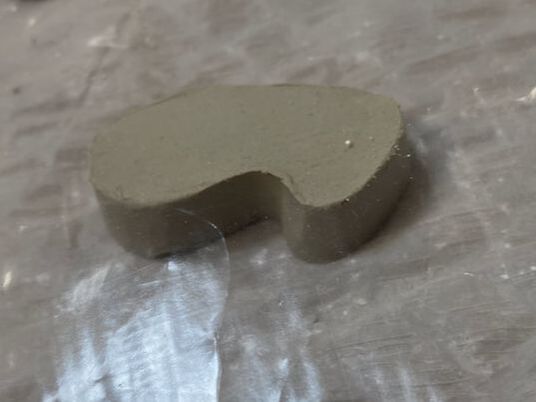
Rounded edges: Place plastic wrap over the slab after smoothing or adding textures.Allow to set up for about 8-10 min. Once slightly dry use small metal cutters to press down gently . This will create a uniform rounded edge. Saves time later sanding.
Form and Function
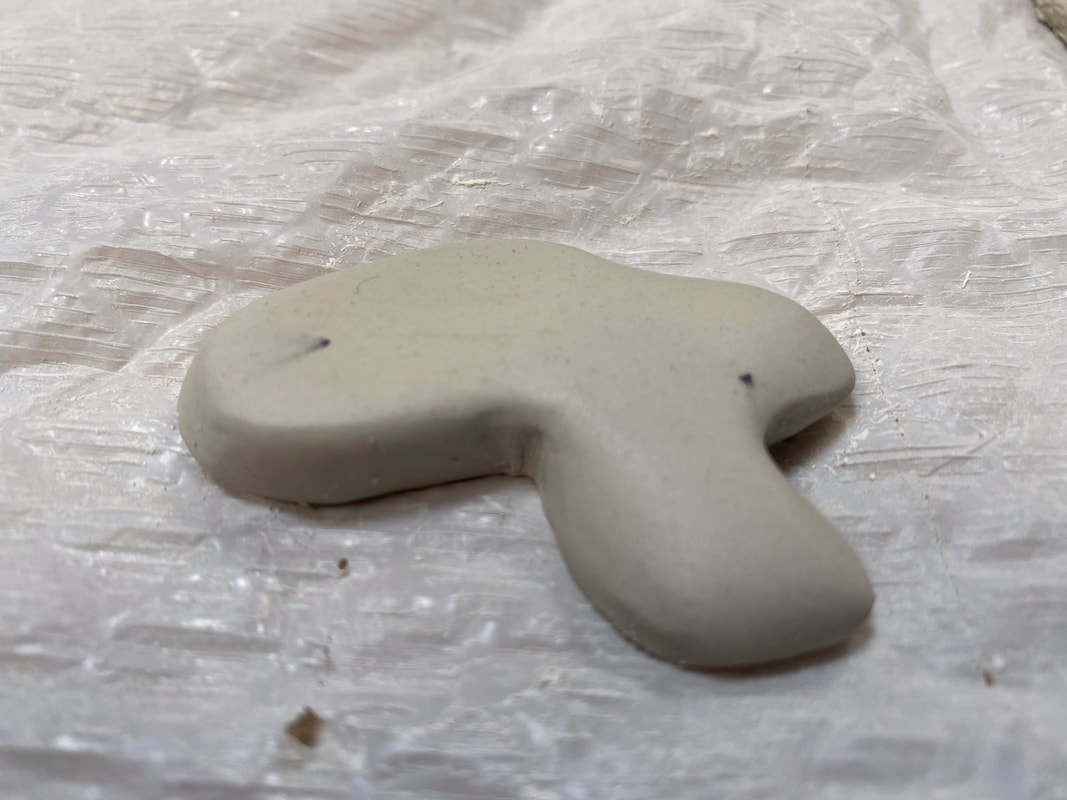
1. Work should be light and thin if functional. 2. Work should be smoothed out on all edges 3. Textures should not be rough or have burrs 4. Create holes larger than the needle tool. The clay will shrink. 5.Draw out several ideas before beginning the work Pre Drill all Holes: Holes need to be larger so when the clay shrinks you can still string the works.
If you plan to glaze you will need to be sure that the work would fit on the glaze tree mandrels. Test that the work is loose around the mandrel. If the clay shrinks too much you will not be able to glaze. |
Underglazing: Underglazing is suggested. It dries quickly and can be detailed.
Glazing: Glazed works need to fit on the bead tree Test the bead mandrel with your bisque wares. To hold the work a you glaze you can use the skewer method. A ball of clay(or model magic) on the skewer, Add your work. Leave room on each end so you can set it on a cup or bowl to dry.
Painting: Watercolors and Spray fix will work, but also watercolor underglazes work well.
