Learning to File
|
|
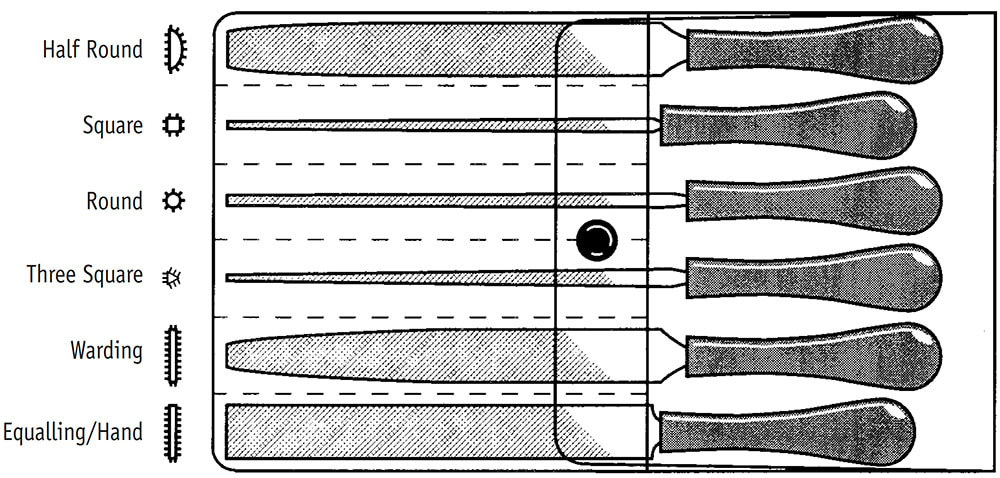
Choosing the Proper File
If you’re filing inside a piece that you’ve pierced and you want a square or flat edge, you’d use a flat or square file
So if you have details in mind for your metal pieces that would be too difficult or too time-consuming to saw, consider using your shaped files to file those details into the metal.
So if you have details in mind for your metal pieces that would be too difficult or too time-consuming to saw, consider using your shaped files to file those details into the metal.
Cut Types- Large Files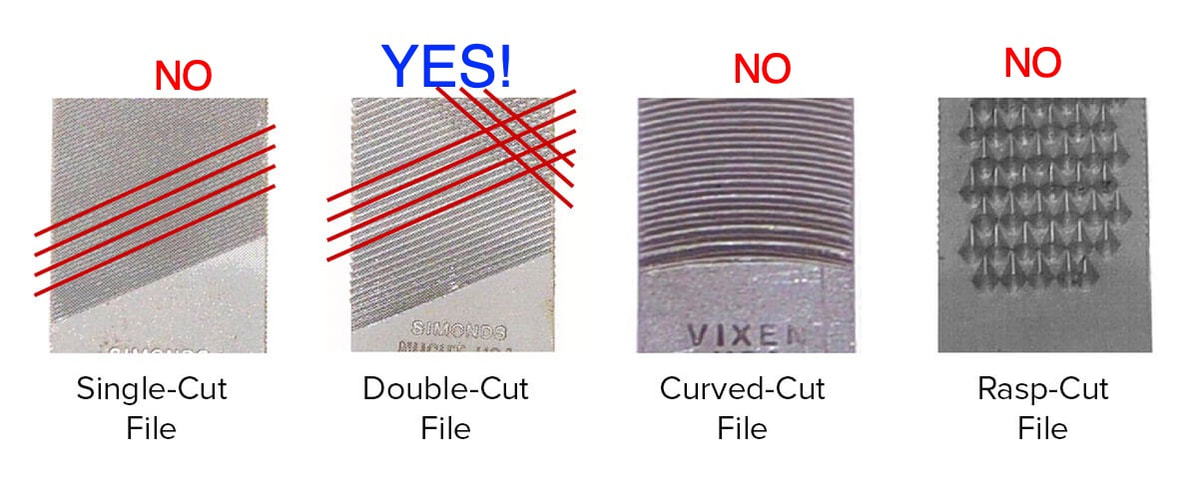

|
Cut - Needle Files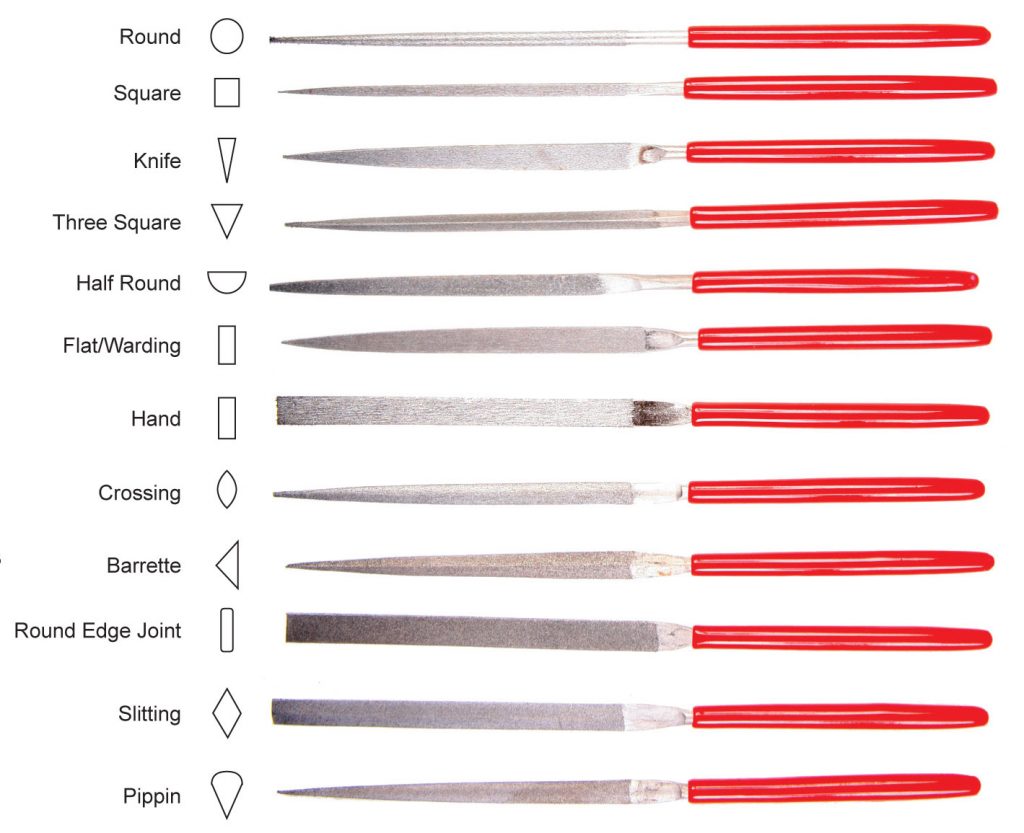
Needle Files
|
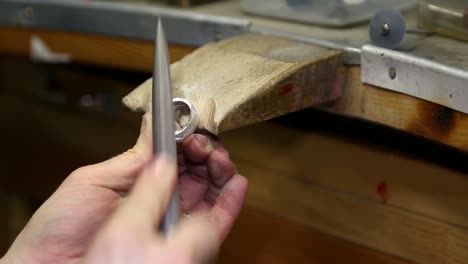
File Placement: Angle
Direction of File: Forward Long Stroke:Forward Diagonal. Size of File: Start with Large file Half Round first. Move to smaller Files. Filing Surface: Place the piece to be filed on a rubber block or other stable surface. Start with larger File to get larger areas down first. Filing Order: Negative Cuts get filed first, |
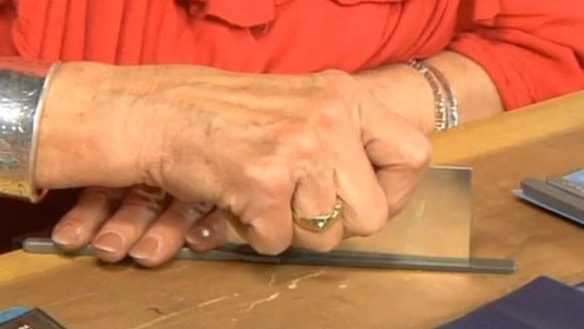
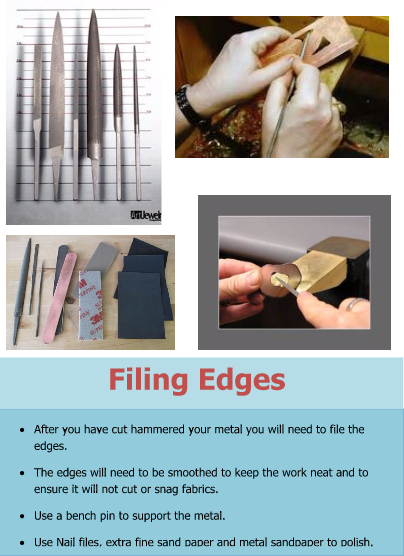
A flat file is ideal for smoothing and straightening out irregular edges on pieces of metal sheet. Just place the file on your work surface and “rub” the metal edge across the file.
|
Demonstrations:
Basics of Filing |
Bevel Edge,Scallop Edge |
Working in Small Cut Spaces |
Burnishers to finish |
What do you need?
|
Jewelers Files
Emery Paper |
Bench Pin
Your Cut metal pieces |
Burnishers
Styrofoam |
What to remember!
Use your Bench Pin to Stabilize
Files only remove material on the Push
Wear your safety goggles to prevent metal dust in your eyes.
File Control
Tool Care/Cleaning
File Card
Steel Dremel Brush
Files to be cleaned
Steel Dremel Brush
Files to be cleaned
